I lit a fire in it last night, finally.
Looking cute next to the weber kettle and small WSM
 IMG_5744
 by
Copsey, on Flickr
Last pic of the inside looking clean, ever
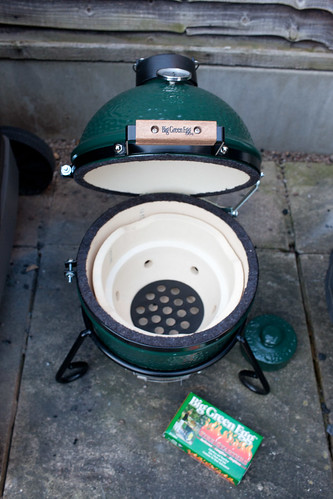 IMG_5745
 by
Copsey, on Flickr
First fire
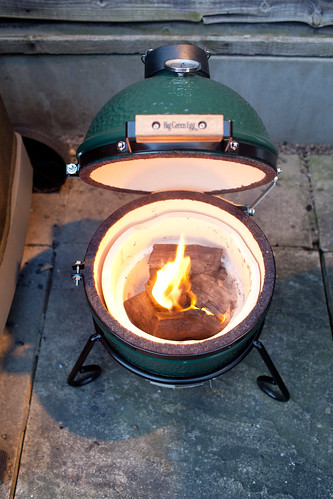 IMG_5751
 by
Copsey, on Flickr
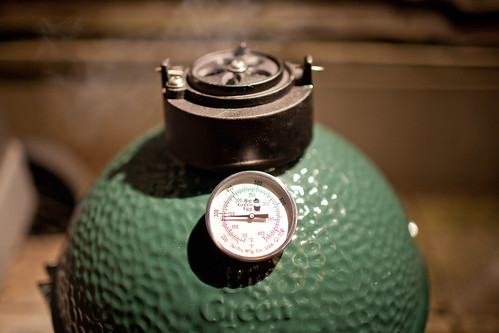
Ahh smoke. I found it came up to 320 or so quickly, then slowly crept up to 400 (wasn't much I could do to keep it lower, until I closed everthing right down except a crack, which brought it down to 300).
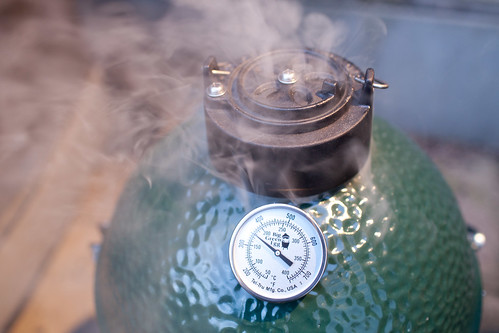 IMG_5752
 by
Copsey, on Flickr
Sacrificial wings. They were great, really intense smokey flavour. Like cooking directly over coals but in an oven.
 IMG_5756
 by
Copsey, on Flickr
 IMG_5762
 by
Copsey, on Flickr
Dinner - rib eye steak, wings, wedges and some left over mac and cheese from the kids dinner.
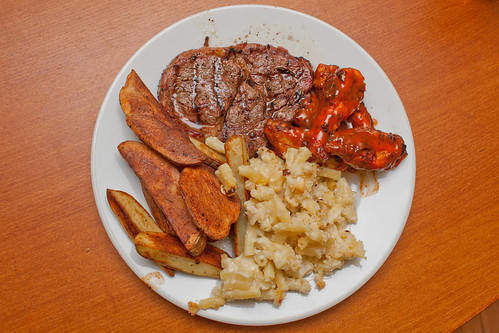 IMG_5765
 by
Copsey, on Flickr
Very pleased - its a great little cooker for one or two